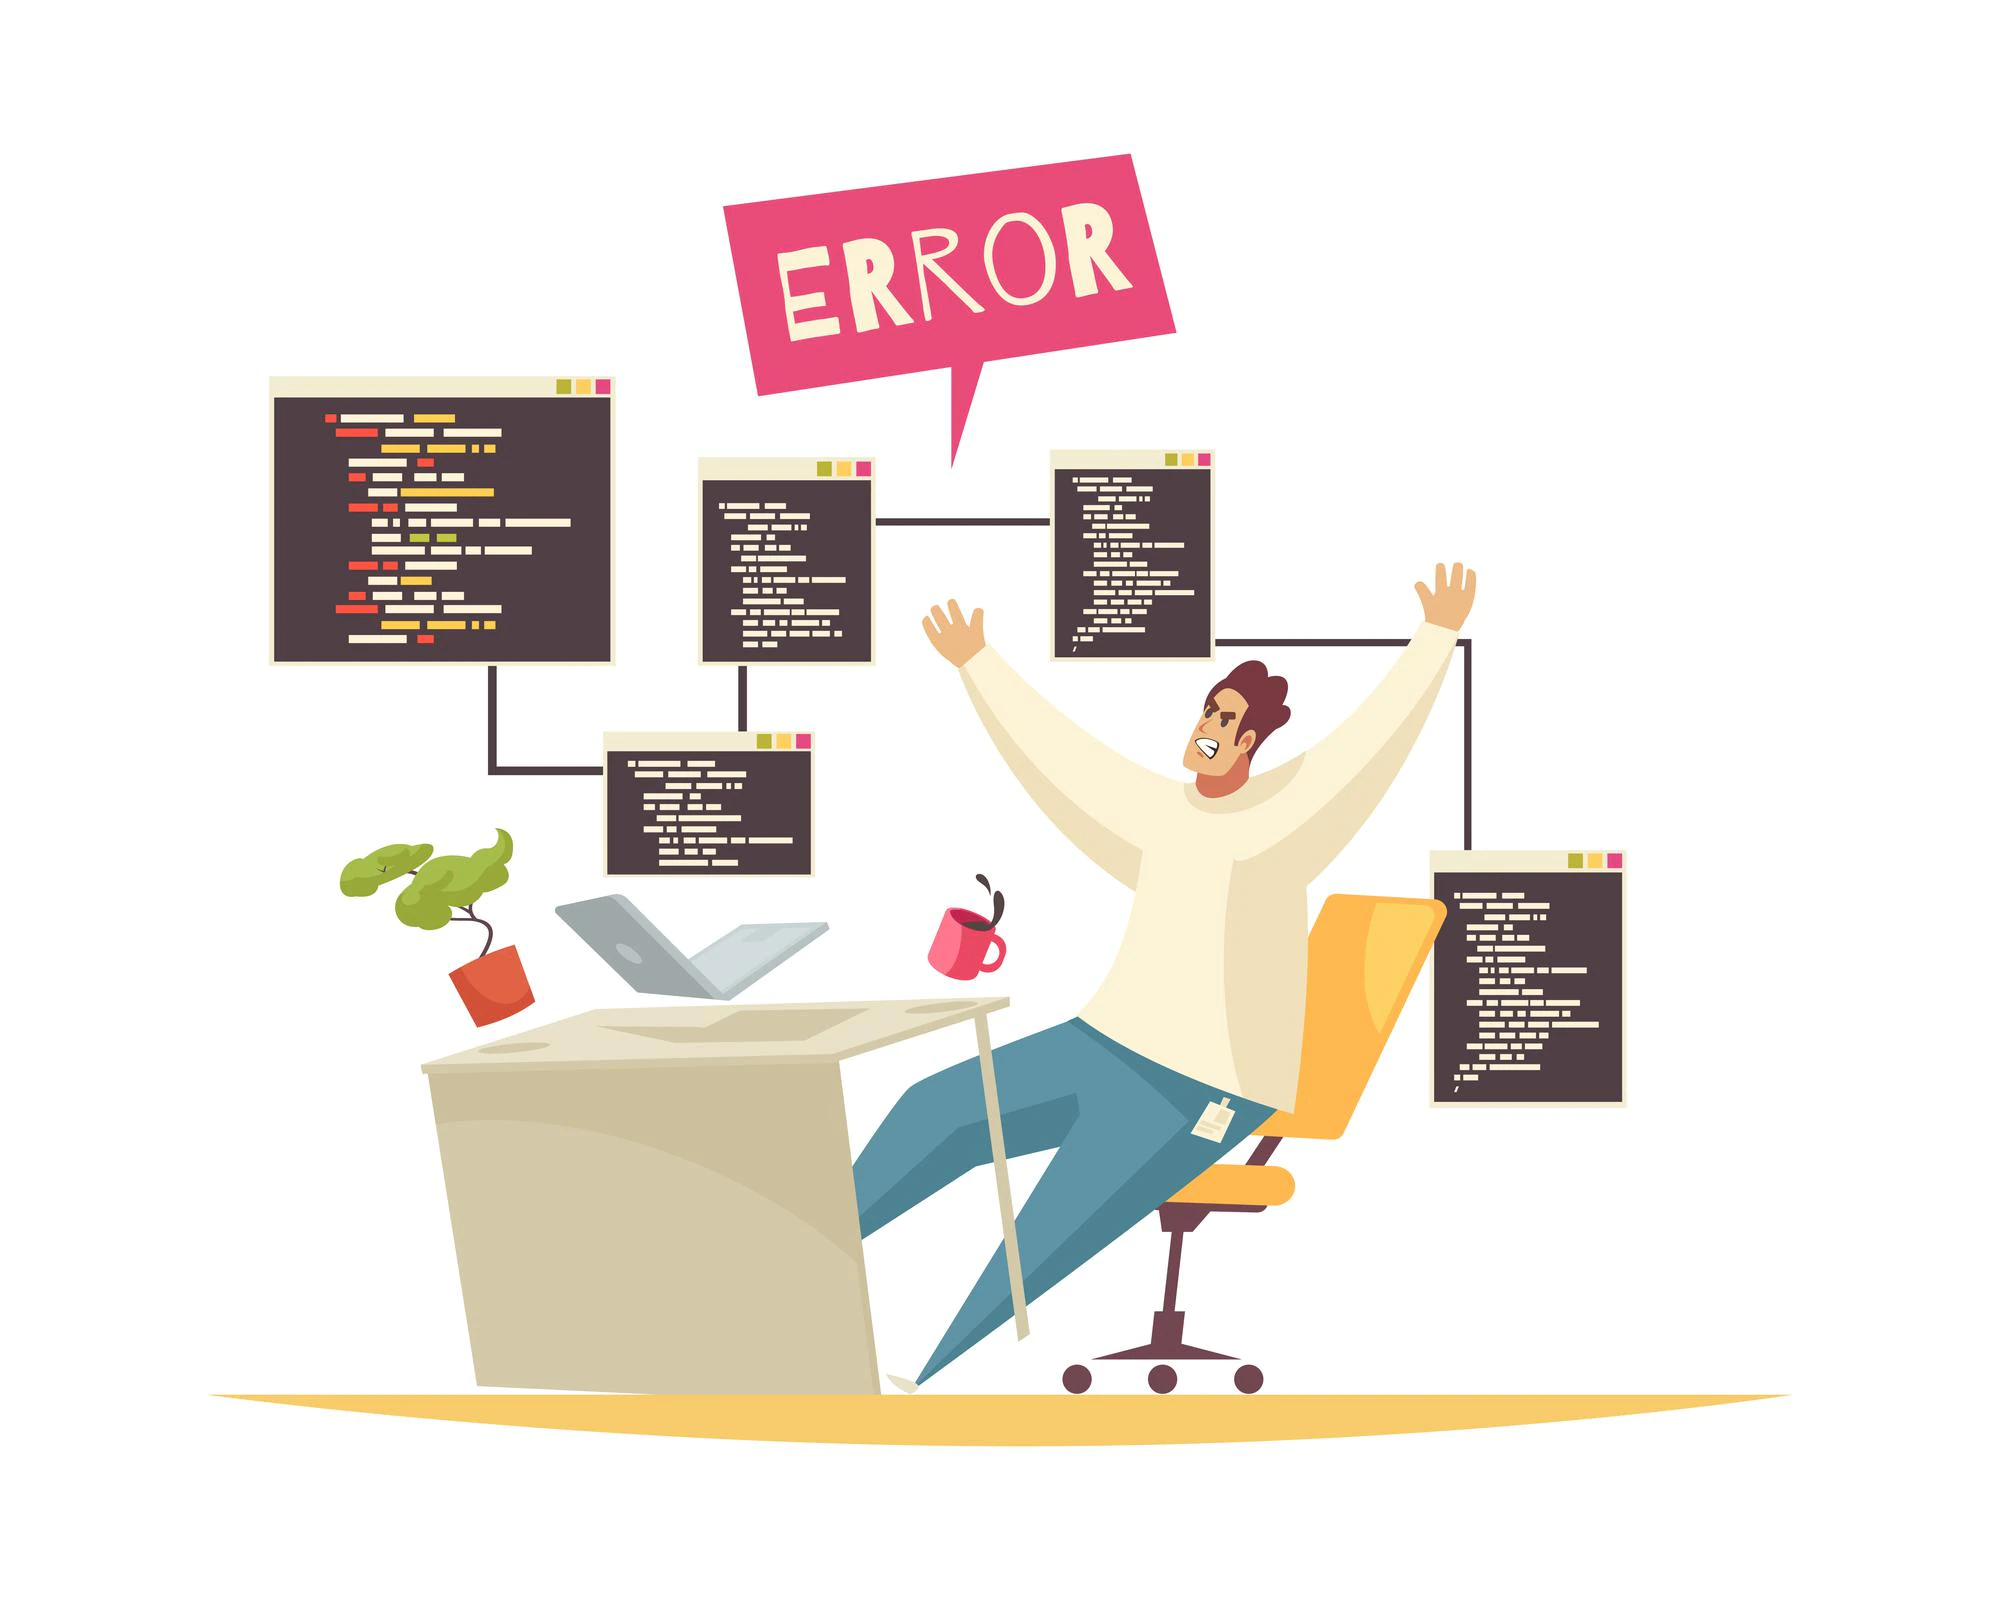
Fixing a broken WordPress site can be a daunting task, but it is possible. The first step is to identify the cause of the issue. Common causes can include a corrupted plugin, theme, or database, a poorly coded plugin, or a hacker attack. Once the cause has been identified, you can take the necessary steps to address it. This may include restoring from a backup, disabling plugins, checking the .htaccess file, or reinstalling WordPress. If the issue is more severe, it may be necessary to seek professional help from a WordPress developer. With the right steps, you can successfully fix a broken WordPress site.
Identify the root cause of the issue
Identifying the root cause of an issue is an important step in problem-solving. It is important to take the time to investigate an issue and determine what the underlying cause is in order to develop a solution that will address the problem in a comprehensive way. This can be done through analyzing the symptoms of the problem, researching the history of the problem, and gathering feedback from stakeholders who are affected by the issue. By taking the time to identify the root cause of an issue, you will be able to develop a more robust solution that will effectively address the problem and prevent it from happening again in the future.
Check the WordPress error logs for any errors
Checking WordPress error logs for any errors is an important step in troubleshooting any issues related to your WordPress site. To check the logs, you need to access the hosting panel of your hosting account and look for a section named ‘Logs’. Once you have opened the logs, look for a file named ‘wordpress-error.log’. This file will contain the latest WordPress errors from the last few days. You can then review the errors to help you identify and fix the issues that may be causing errors on your WordPress site. It is important to check your WordPress error logs regularly to ensure that your site is running smoothly.
Check the WordPress configuration file for any issues
To check the WordPress configuration file for any issues, you can use a tool such as the Health Check & Troubleshooting plugin. This plugin will scan the WordPress configuration file for any errors or inconsistencies that may be causing problems. It will then provide a detailed report of any issues it finds and suggest possible solutions. This plugin is an invaluable tool for troubleshooting and ensuring that your WordPress configuration is set up correctly. Additionally, you can manually check your WordPress configuration file by looking for any typos or errors in the code. It is important to double-check any changes you make to the configuration file to ensure that it is correct and properly configured.
• Check the wp-config.php file for any incorrect settings
• Verify all database credentials are correct
• Make sure the database table prefix is set correctly
• Confirm the WordPress site URL and home URL settings are correct
• Check that file and directory permissions are set correctly
• Inspect the .htaccess file for any errors
• Ensure the active theme is compatible with the latest version of WordPress
• Inspect active plugins for any compatibility issues
• Run a security scan to check for any malicious code or infections
Update WordPress to the latest version
Updating WordPress to the latest version is an important task to ensure your website is secure and functioning properly. To update WordPress, you’ll need to login to your WordPress admin dashboard and click the “Updates” tab. From there, you’ll be able to see what version of WordPress is currently installed and what version is available. You’ll then need to click the “Update Now” button to begin the process. Make sure to backup your website before updating as a precaution, and then wait for the process to complete. Once finished, WordPress should be up to date and you can start enjoying the newest features and security fixes.
- Download the latest version of WordPress
- Back up your site files and database
- Delete old WordPress files
- Upload the new files to your server
- Run the update script
- Update plugins and themes
- Check your site for any errors or conflicts
- Test your site functionality
Check the WordPress server configuration
Checking the WordPress server configuration can be a straightforward process. Start by logging into your WordPress admin dashboard and navigating to the ‘Tools’ section. From there, you can select ‘Site Health’ and perform the ‘Info’ check. This will provide you with all the necessary information regarding your server, such as the PHP version, database type, web server, and more. Additionally, you can check the ‘Status’ tab to view any potential issues with your server, such as memory limits or compatibility warnings. You can also run a ‘Debug’ test to further investigate any existing issues and make sure your server is running optimally. By taking the time to check the WordPress server configuration, you can ensure your website is performing as expected.
- Ensure version of WordPress is compatible with the server’s operating system
- Make sure that the server has enough memory to run WordPress
- Make sure the server has the necessary software installed to run WordPress
- Make sure the server is configured properly to run WordPress
- Ensure that the server is secure enough to run WordPress
- Make sure the server is performing optimally to run WordPress
- Make sure the server is regularly backed up in case of data loss
Disable any plugins in WordPress that are not in use
Disabling any plugins in WordPress that are not in use is an important step in maintaining a secure and efficient website. Unused plugins can introduce vulnerabilities or performance issues, so it is important to check for any plugins that are no longer needed and disable them. Additionally, plugins that are not regularly updated can also become vulnerable over time, so disabling them is even more important. It is also a good idea to regularly check for any new plugins that may have been added to the site and disable any that are not needed.
Taking the time to disable unused plugins in WordPress can help keep the website secure and running smoothly. To disable a plugin, you can go to the WordPress dashboard, find the plugin that you don’t need and click on the “Disable” button. That will turn off the plugin and make your website run faster.
Check if the WordPress theme is causing any compatibility issues
If you’re concerned that your WordPress theme may be causing compatibility issues, there are a few steps you can take to check. First, make sure you’re using the most recent version of the theme. Next, review the theme’s documentation to determine if any specific plugins, hosting platforms, and/or browsers are incompatible. Lastly, you can check any available reviews or forums to see if other users have experienced any compatibility issues. If you find any problems, you can reach out to the theme’s developer or switch to a new theme.
- Check the theme’s coding for errors or conflicts
- Check the theme’s compatibility with other plugins
- Test the theme on multiple browsers
- Check the theme’s performance on different devices
- Use a plugin to check for compatibility issues
- Check the theme’s compatibility with the WordPress version you’re using
- Check the theme’s compatibility with the PHP version you’re using
- Check the theme’s compatibility with the server environment you’re using
- Run a malware scan on the theme
- Check if the theme is following WordPress coding standards
Re-upload the core WordPress files
Re-uploading the core WordPress files can be a useful tool if something ever goes wrong with your website. To do so, you will need to download a copy of the WordPress install from the official website. Once downloaded, use an FTP program to upload the files to the root folder of your website. Make sure to overwrite any existing files when prompted. Once the upload is finished, you can log in to your website and check if everything is working as expected. If not, you may need to reinstall the plugins and themes you had before.
- Download the latest version of WordPress from WordPress.org.
- Unzip the downloaded WordPress files and upload them via FTP to the root directory of your website.
- Replace the old WordPress files with the new version, but make sure to keep a copy of the old version in case something goes wrong.
- Check and make sure that all the new files were uploaded successfully.
- Log in to the WordPress dashboard and run the database upgrade process.
- Verify that all the settings in the WordPress dashboard are still the same.
- Test the website to make sure everything is working properly.
Check if the wordpress database is corrupted
Checking if your WordPress database is corrupted can be a simple but important task to ensure your site is running smoothly. First, you should back up your WordPress database before proceeding with any checks. Then, you can use a WordPress plugin such as WP-DB Manager to check for and repair any corrupted files. This plugin can also optimize your database, which can help improve the performance of your WordPress website. Additionally, you can use a MySQL query to check for errors in the WordPress database. This can be done using the phpMyAdmin tool, which is usually included in most hosting control panels. After running the query, any errors will be displayed and can then be repaired as needed. Checking for and repairing any corrupted WordPress databases can be an important step for ensuring the smooth running of your website.
- Run the WordPress database repair tool
- Check the WordPress error logs
- Use a plugin to check the integrity of the database
- Check the WordPress configuration file
- Use a plugin to perform a backup of the WordPress database
- Check the permissions of the WordPress files and folders
- Use a plugin to optimize the WordPress database
- Check the MySQL server logs
- Use a plugin to monitor the WordPress database
Take a backup of the wordpress website and restore it
Taking a backup of a WordPress website and restoring it is an important step for website maintenance and security. To take a backup of a WordPress website, you can use a plugin such as UpdraftPlus. This plugin will provide you with an easy to use interface to perform a full backup of the website, including files, database, and other content. To restore the backup, you can simply upload the backup file to the WordPress installation, and the plugin will restore the website. Alternatively, you can manually restore the backup by importing the database and uploading the files to the file system. Whichever method you use, make sure to thoroughly test the website after the restore to ensure everything is working correctly.
- Create a backup of your WordPress website using a plugin such as BackWPUp or UpdraftPlus
- Download the backup file to your computer
- Locate the downloaded backup file and restore it using the same plugin
- Verify that your website is restored and working correctly
